5 Simple Steps to Getting Pastel Nails Done.

Pastel nails are a great way to add a touch of softness and femininity to your look. If you want to try out this trend but aren’t sure where to start, don’t worry! With these 5 simple steps, you’ll be able to achieve the perfect pastel nails in no time.
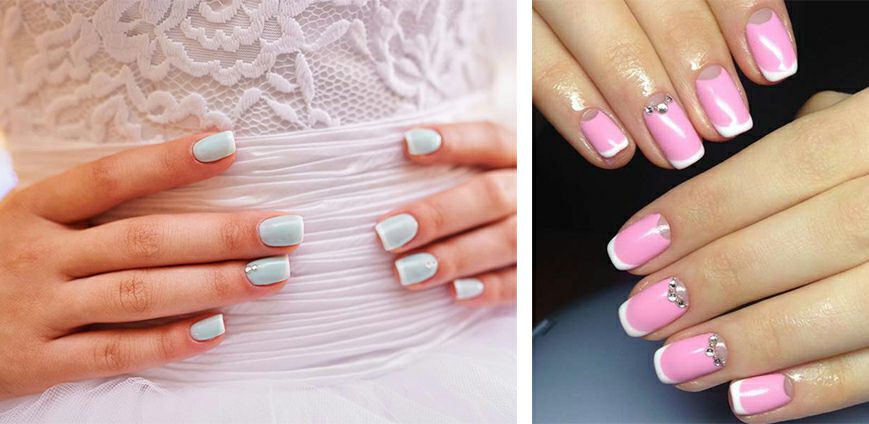
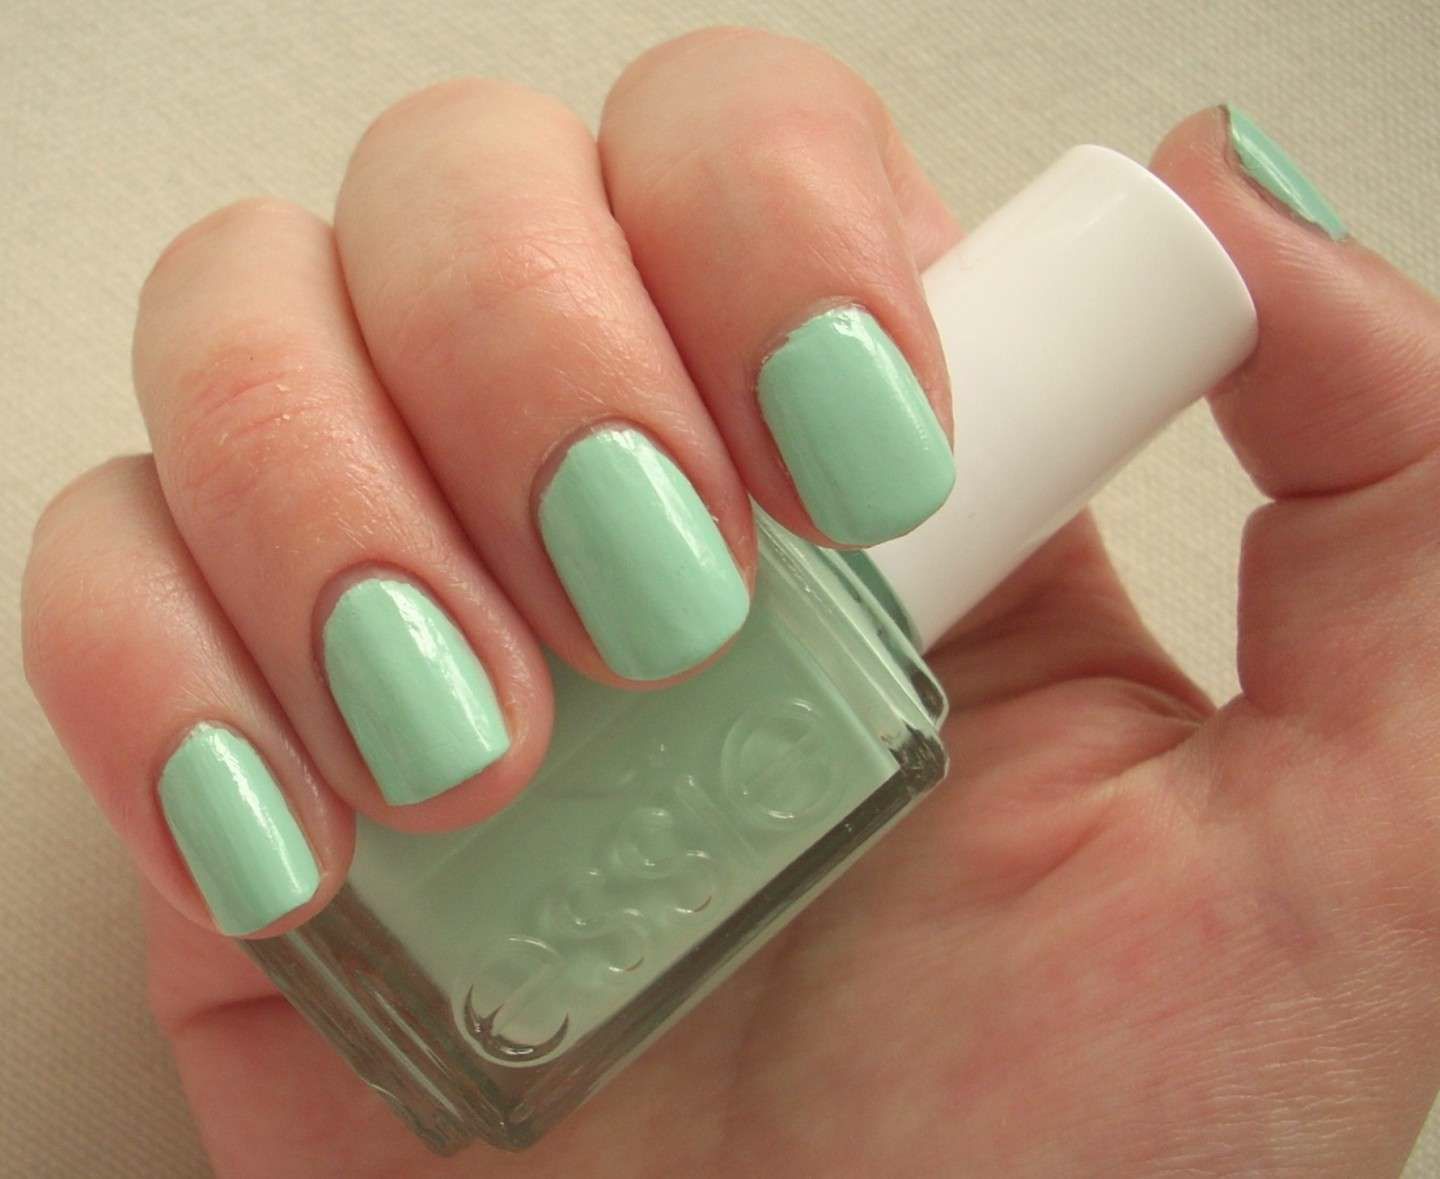
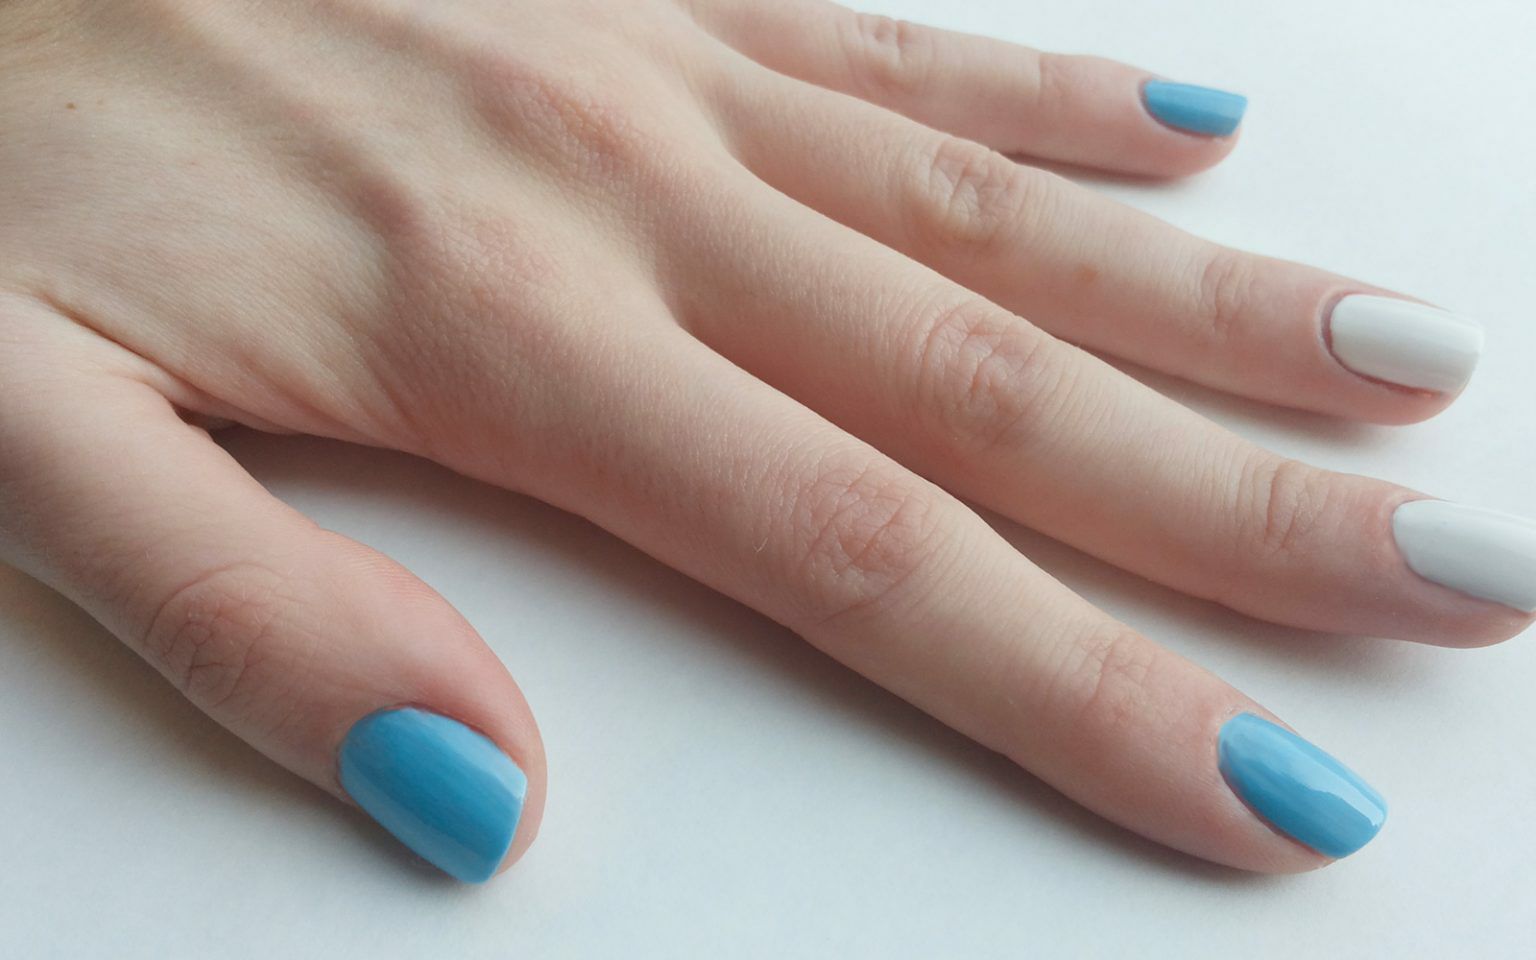
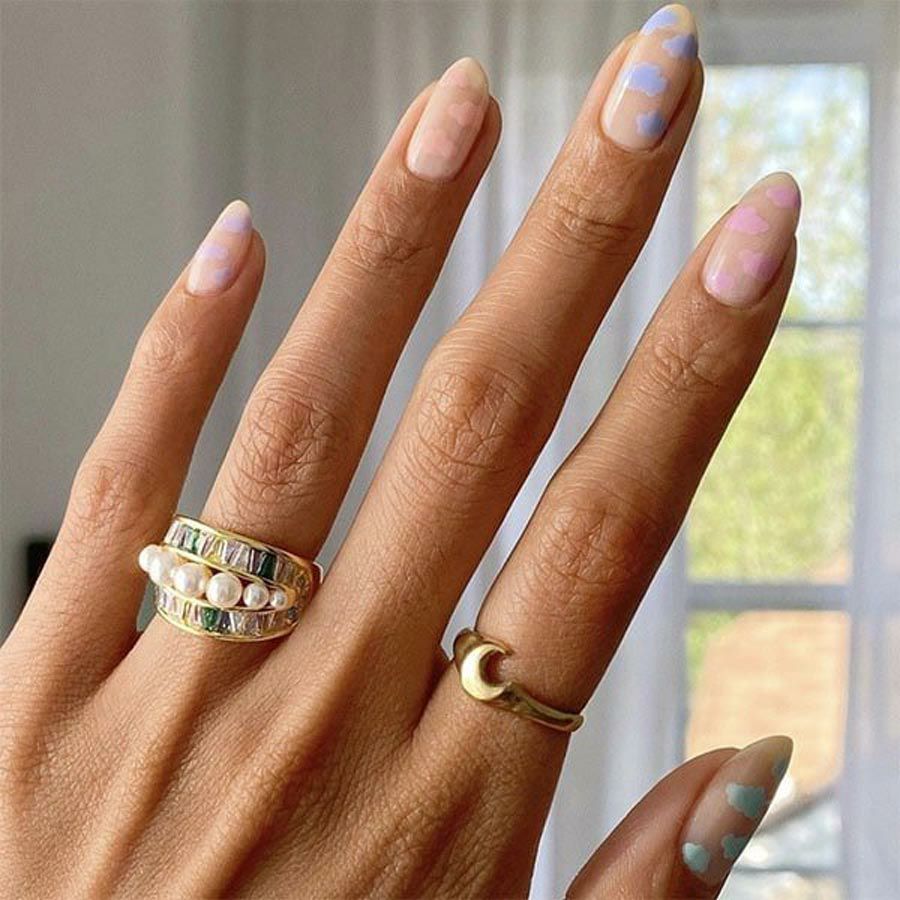
Step 1: Choose Your Colors
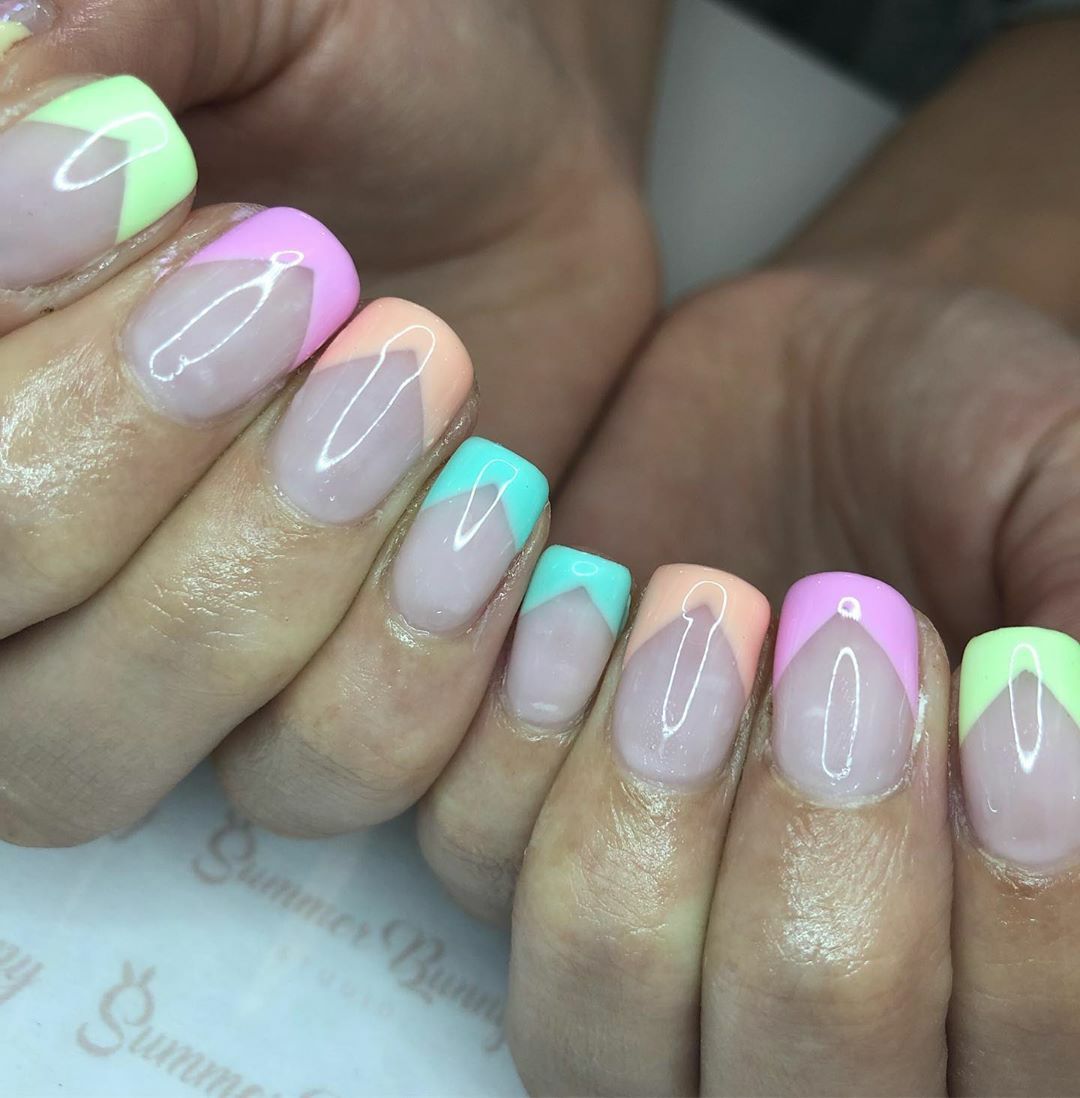
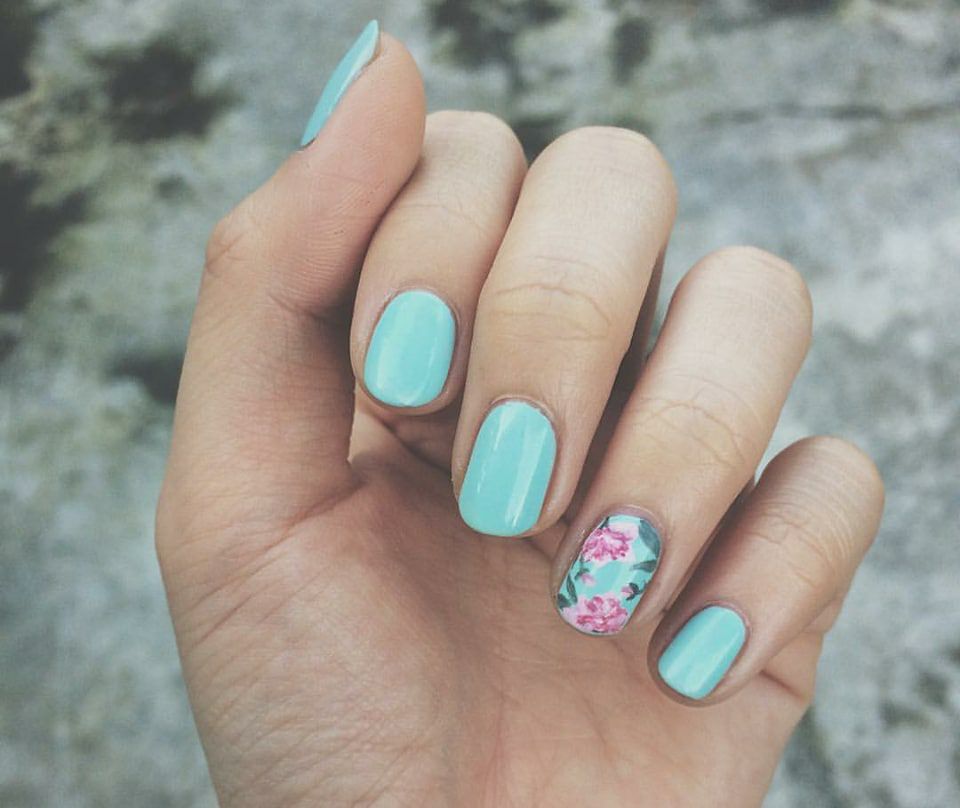
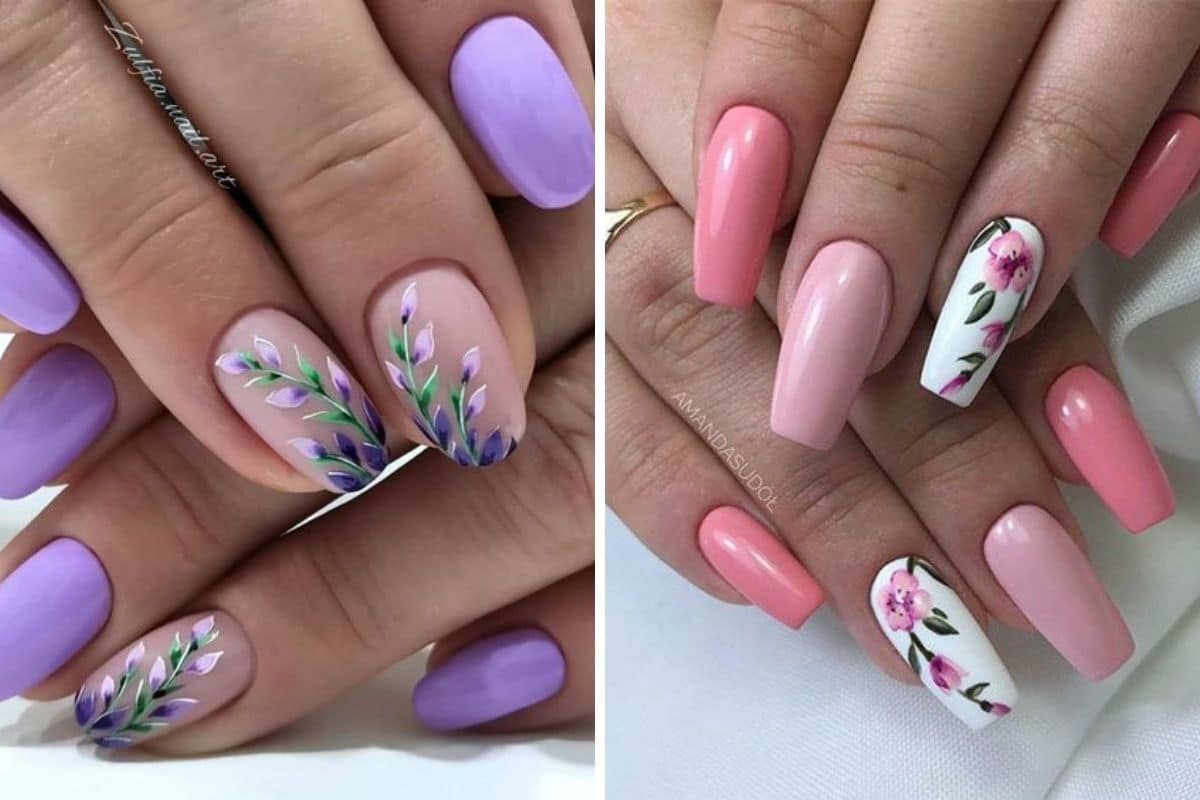
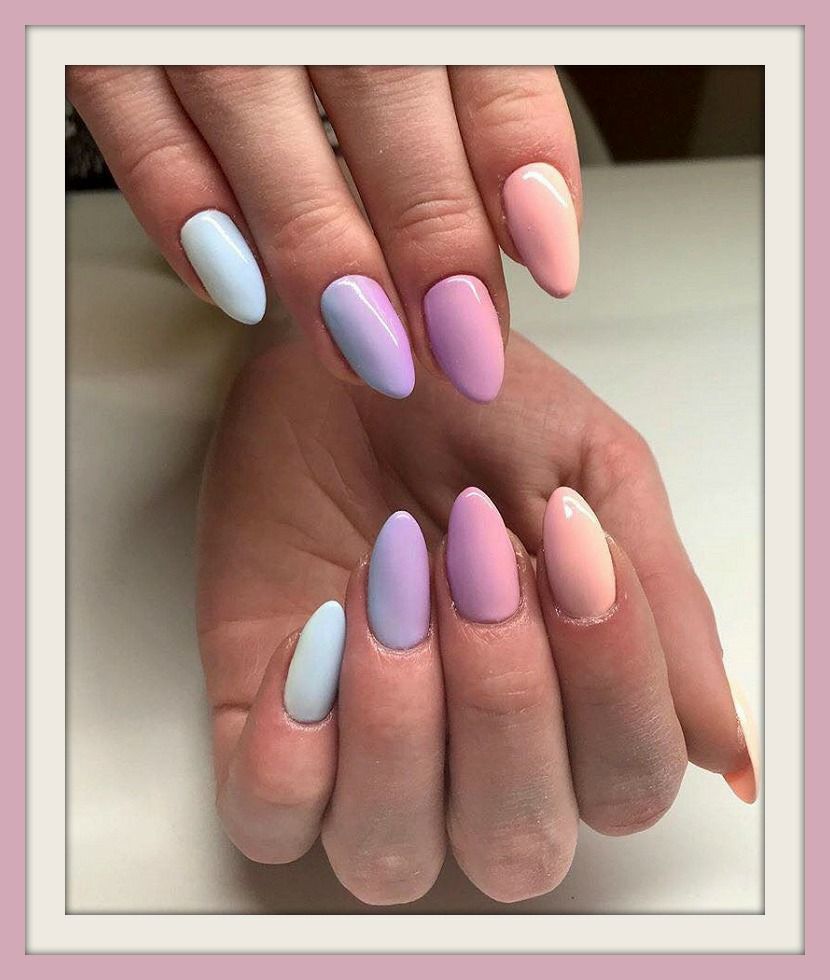
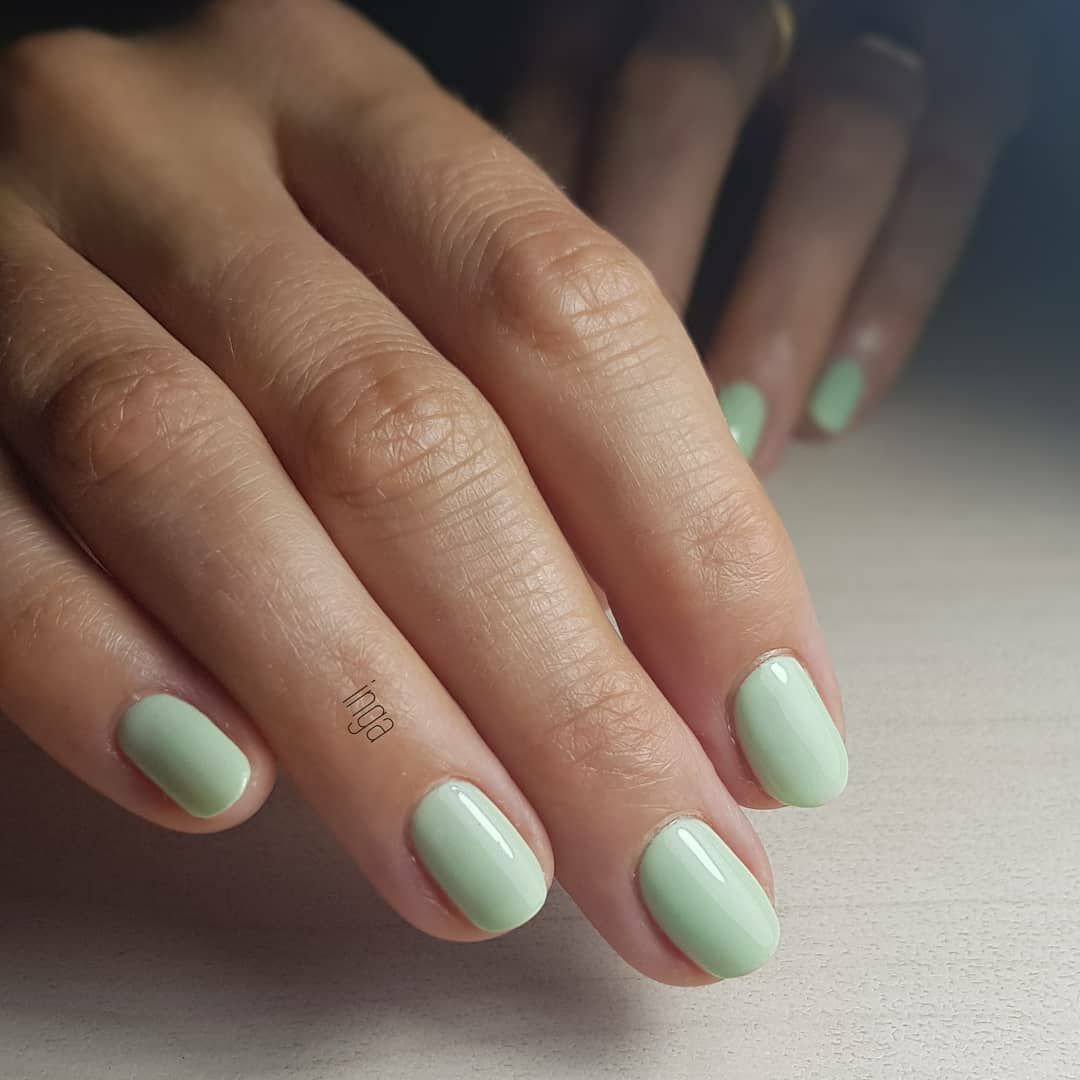
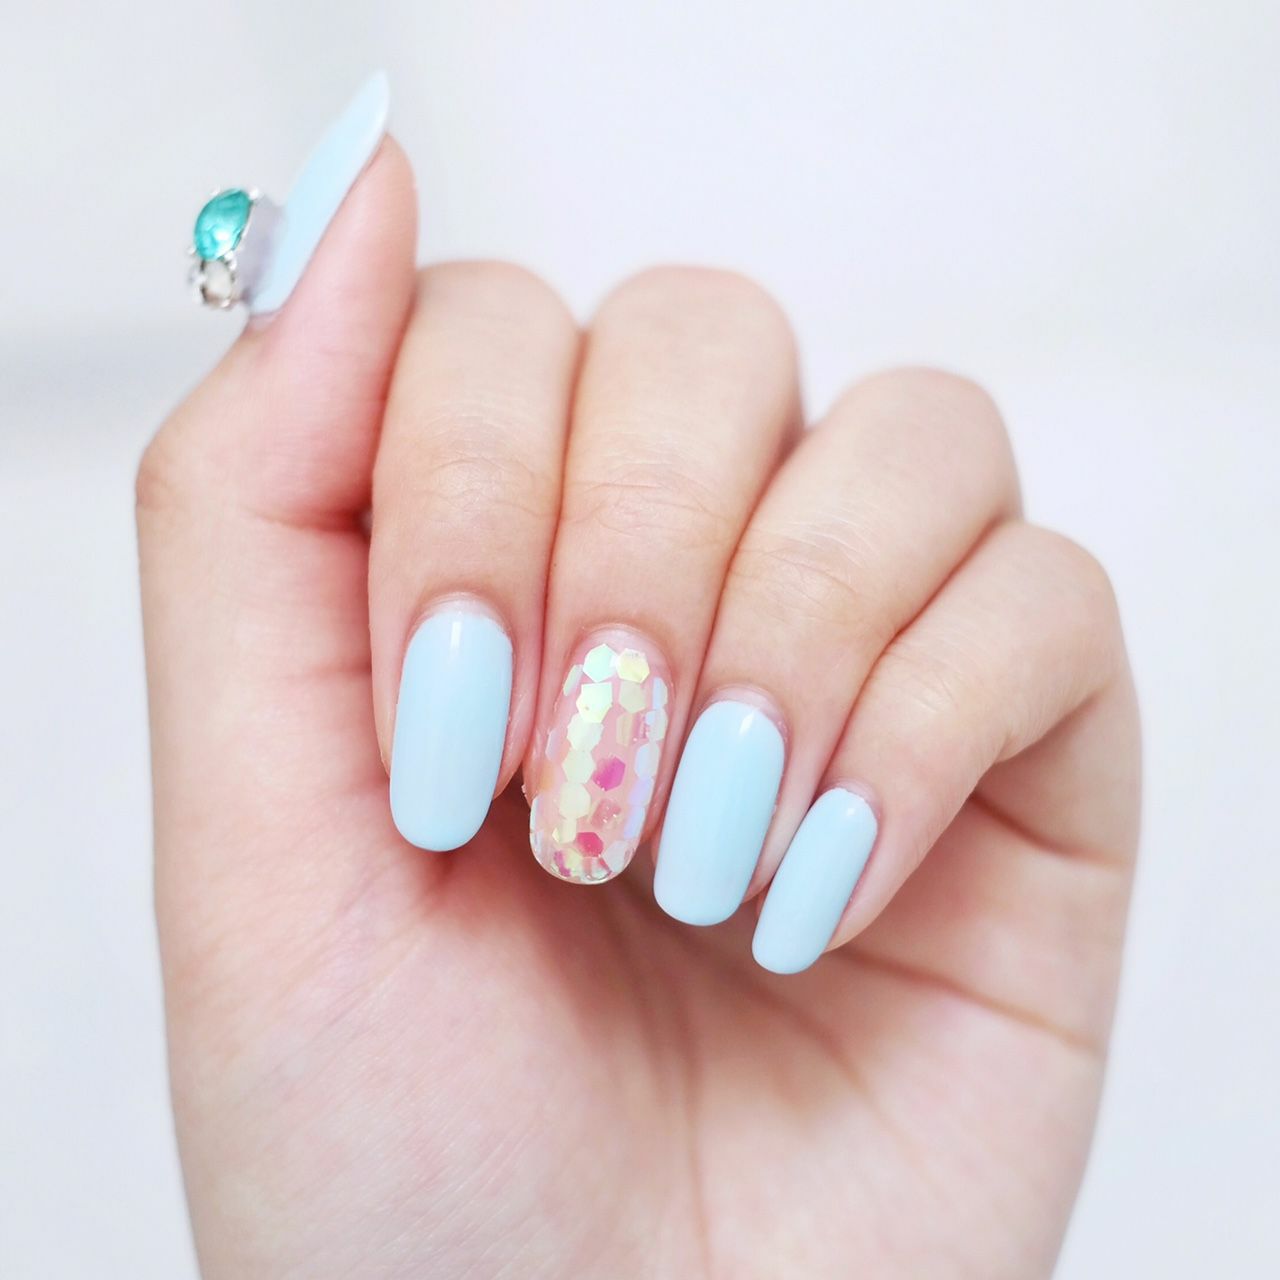
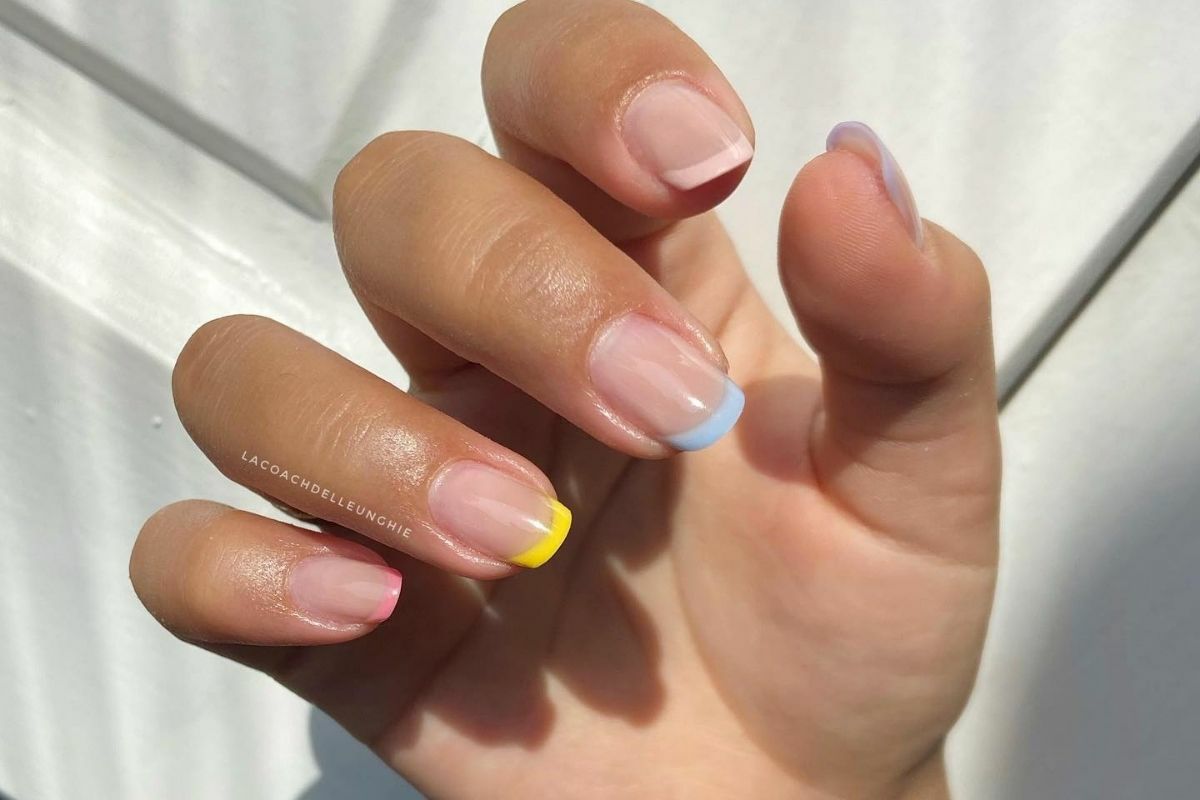
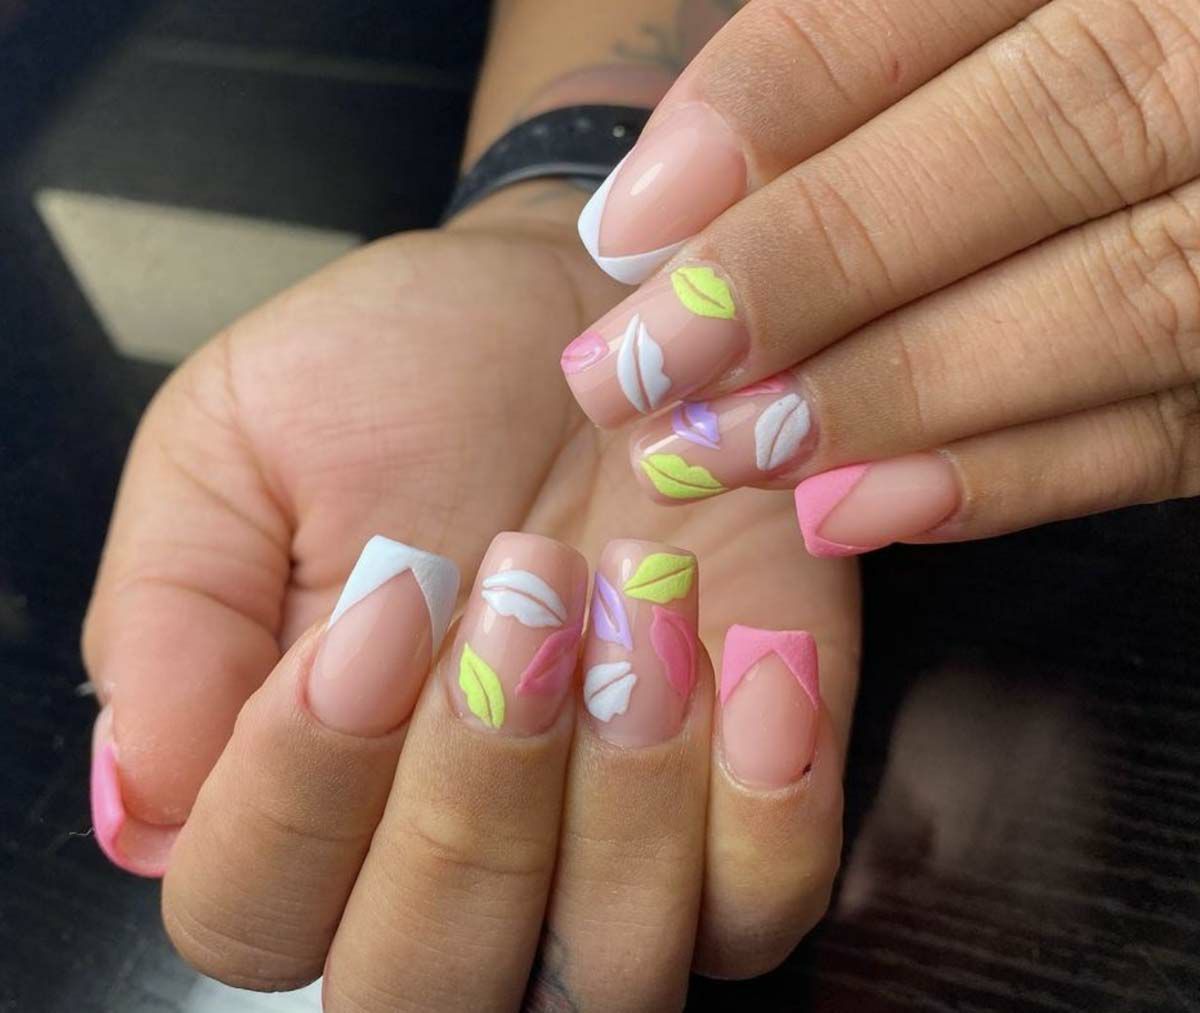
The first step to getting pastel nails done is to choose your colors. Pastel shades are typically light and soft, so look for colors like baby pink, mint green, lavender, and light blue. You can also mix and match pastel colors to create a fun and playful look.
Step 2: Prep Your Nails
Before applying any polish, make sure your nails are clean and dry. Remove any old polish and file your nails into the desired shape. Push back your cuticles and use a cuticle trimmer to remove any excess skin. Finish by buffing your nails to create a smooth surface.

Step 3: Apply a Base Coat
To help your polish last longer and prevent chipping, apply a base coat. This will also help create a smooth surface for your polish to adhere to. Let the base coat dry completely before moving on to the next step.
Step 4: Apply Your Pastel Polish
Once your base coat is dry, it’s time to apply your pastel polish. Start by applying a thin layer to each nail, making sure to cover the entire nail. Let the first coat dry completely before applying a second coat. Depending on the opacity of your polish, you may need to apply a third coat.
Step 5: Finish with a Top Coat
To protect your nails and add shine, apply a top coat. This will also help your polish last longer and prevent chipping. Let the top coat dry completely before using your hands.
And that’s it! With these 5 simple steps, you can achieve the perfect pastel nails. Whether you’re going for a subtle or bold look, pastel nails are a fun and playful way to switch up your beauty routine.


Hits: 0